Creating a bootable USB stick with Apple Mac OS X, also for downgrade purposes
Today I'll describe how you can create a bootable USB stick for emergencies or for upgrading or downgrading an existing Mac OS X operating system.
Contrary to some statements you might find online, it is currently possible to downgrade the operating system, meaning you can install an earlier version.
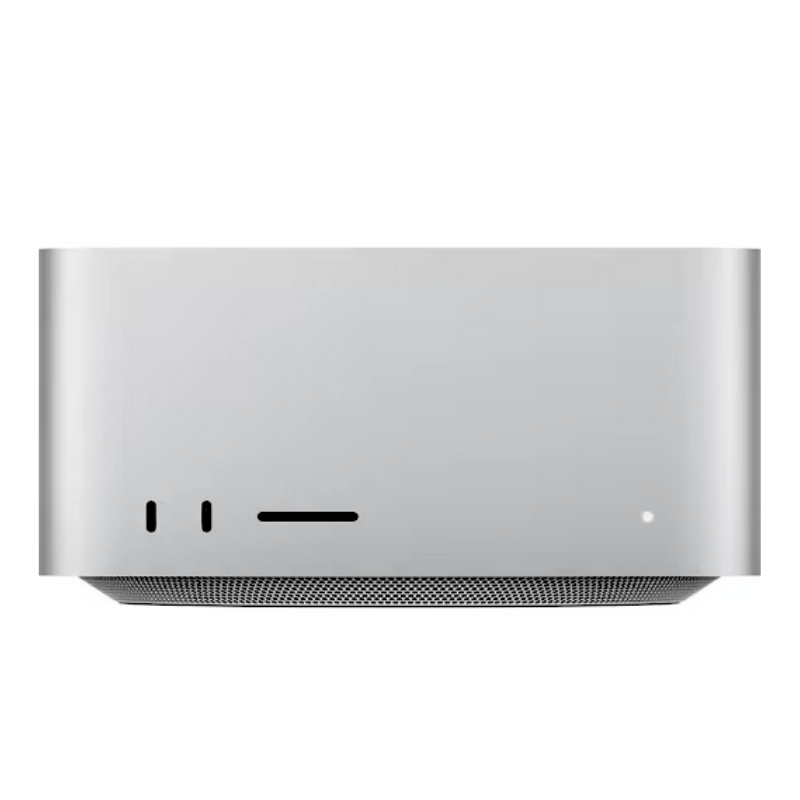
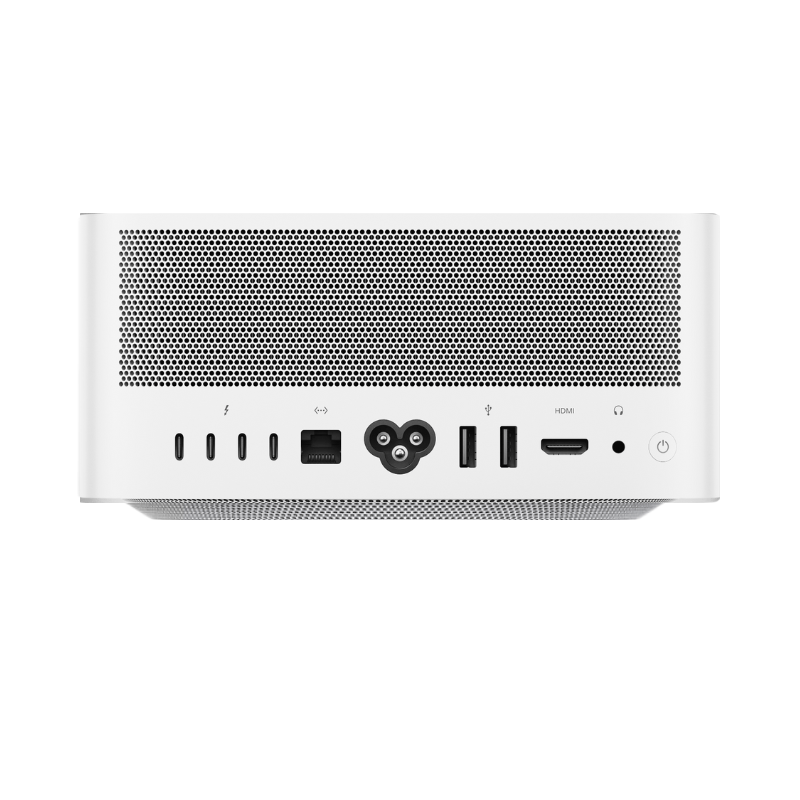
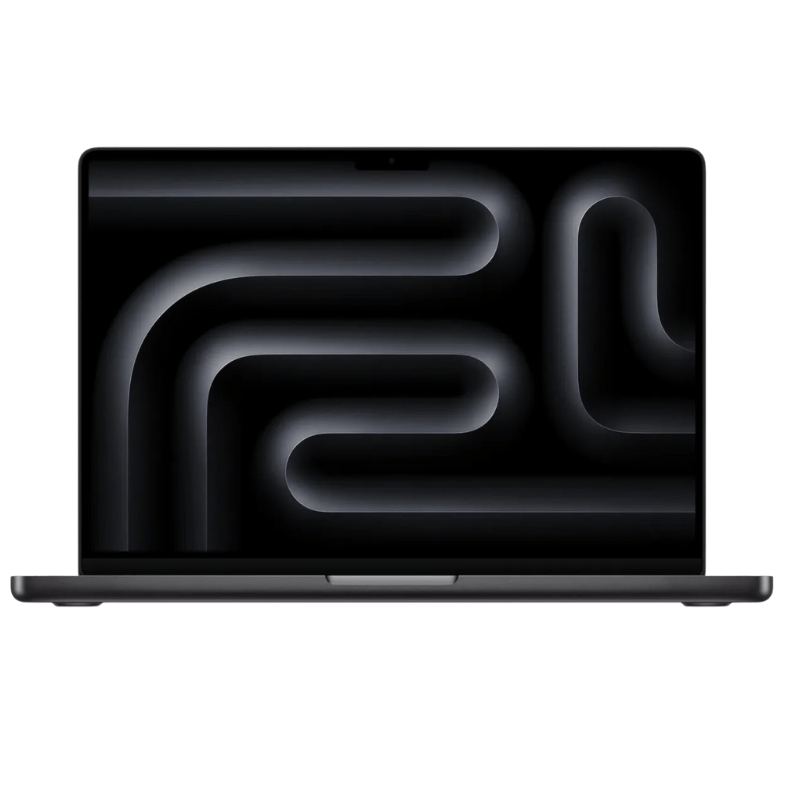
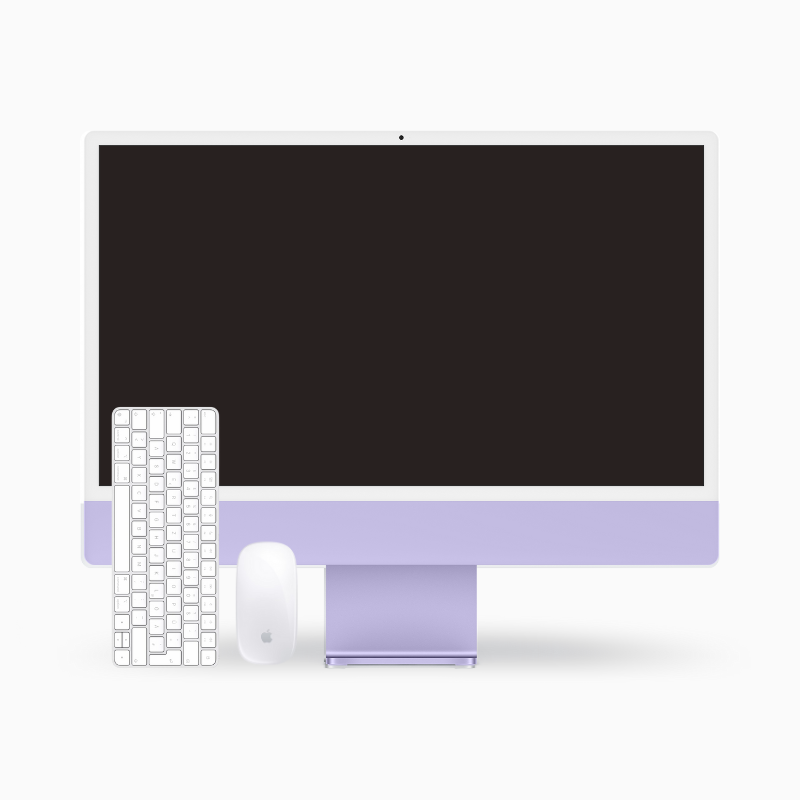
If your iMac, MacBook Pro or Mac Mini / Pro was released in 2013 and the first devices with OS X Mavericks 10.9 came out, you can downgrade your device to this operating system if it has been updated.
It is not possible to install an operating system that was released before the release date of your device.
Please note that if you own a newer M1, M2, or M3 device, or a device with a T2 chip, you must allow booting from external media in recovery mode. To do this, start recovery mode (CMD R) and open the Startup Security Utility in the taskbar at the top. You can only open it if a user is still registered on the hard drive, as you need the password of the registered user. Once you've entered the password, you can allow booting from external media.
Here are a few release dates for Apple operating systems:
Mac OS X Snow Leopard 10.6 - 08/28/2009
Mac OS X Lion 10.7 - 11/20/2011
Mac OS X Mountain Lion 10.8 - 11/25/2012
Mac OS X Mavericks 10.9 - 10/22/2013
Mac OS X Yosemite 10.10 - 10/16/2014
Mac OS X El Capitan 10.11 - 09/30/2015
Mac OS X Sierra 10.12 - 09/20/2016
Mac OS X High Sierra 10.13 - 09/25/2017
Mac OS X Mojave 10.14 - 09/24/2018
Mac OS X Catalina 10.15 - 10/07/2019
Mac OS X Big Sur 11.0 - 11/12/2020
Mac OS X Monterey 12.0 - 10/25/2021
Mac OS Ventura 13.0 - 10/24/2022
Mac OS Sonoma 14.0 - 09/26/2023
Mac OS Sequoia 15.0 - 09/16/2024
To create a bootable stick, there are two options:
1. The integrated Apple tool that is started via Terminal.
2. Free software such as DiskMaker for Mac OS X.
Creating the USB stick
First, we need the image for the operating system, which is a file containing the software.
I would always recommend using images directly from Apple, as other sites may have malware integrated.
Here are some images for the operating systems directly from Apple:
High Sierra: https://apps.apple.com/de/app/macos-high-sierra/id...
Mojave: https://apps.apple.com/de/app/macos-mojave/id13985...
Catalina: https://apps.apple.com/de/app/macos-catalina/id146...
Big Sur: https://apps.apple.com/us/app/macos-big-sur/id1526878132/
Monterey: https://apps.apple.com/de/app/macos-monterey/id1576738294?mt=12
Ventura: https://apps.apple.com/app/macos-ventura/id1638787999?mt=12
Sonoma: https://apps.apple.com/us/app/macos-sonoma/id6450717509?mt=12
Sequoia: https://apps.apple.com/de/app/macos-sequoia/id6596773750?mt=12
Download the required image but do not install it. Once the download is complete, you can create the stick.
To create a stick, you need a USB stick with 8GB for older operating systems up to Mojave. For Catalina, it should be a larger stick, 16GB.
First, the stick must be erased.
To do this, open the Disk Utility (click the magnifying glass at the top right and search for Disk Utility, then select it).
In Disk Utility, select the stick, erase it, and assign a name (Mac OS Extended/Guide Partition Table).
I'm calling the stick "empty" here.
Once the stick is erased, close Disk Utility.
If you're creating the stick using software like Diskimage, you can skip the following steps and simply start your software.
This description refers to the integrated Apple tool for creating a boot stick.
Open Terminal (click the magnifying glass at the top right, search for Terminal, and confirm).
Here are the terminal commands for the different operating systems:
Sonoma:
sudo /Applications/Install\ macOS\ Sonoma.app/Contents/Resources/createinstallmedia --volume /Volumes/empty
Ventura:
sudo /Applications/Install\ macOS\ Ventura.app/Contents/Resources/createinstallmedia --volume /Volumes/empty
Monterey:
sudo /Applications/Install\ macOS\ Monterey.app/Contents/Resources/createinstallmedia --volume /Volumes/empty
Big Sur:
sudo /Applications/Install\ macOS\ Big\ Sur.app/Contents/Resources/createinstallmedia --volume /Volumes/empty
Catalina:
sudo /Applications/Install\ macOS\ Catalina.app/Contents/Resources/createinstallmedia --volume /Volumes/empty
Mojave:
sudo /Applications/Install\ macOS\ mojave.app/Contents/Resources/createinstallmedia --volume /Volumes/empty
High Sierra:
sudo /Applications/Install\ macOS\ High\ Sierra.app/Contents/Resources/createinstallmedia --volume /Volumes/empty
Sierra:
sudo /Applications/Install\ macOS\ Sierra.app/Contents/Resources/createinstallmedia --volume /Volumes/empty
El Capitan:
sudo /Applications/Install\ macOS\ El\ Capitan.app/Contents/Resources/createinstallmedia --volume /Volumes/empty
Sonoma:
sudo /Applications/Install\ macOS\ Sonoma.app/Contents/Resources/createinstallmedia --volume /Volumes/empty
Sequoia:
sudo /Applications/Install\ macOS\ Sequoia.app/Contents/Resources/createinstallmedia --volume /Volumes/empty
The command can simply be copied and pasted into the Terminal. If you also named your stick empty, you just need to press the Enter key. If you named your stick differently, replace empty with the name you assigned.
Now you need to enter your administrator password, which you use in Mac OS X, to confirm and then confirm with the Y key.
The stick is now being created. Terminal will notify you when the stick is ready.
Installation:
To install the operating system via the stick, it logically needs to be connected to the device. If the device is not yet turned off, turn it off.
To boot from the stick, press and hold the left ALT (Option) key when turning on the device until the stick appears on the display (Install Mac OS...).
Then select the stick and start.
Next, select the desired language.
If you want a complete reinstallation (Clean Install, without all your data) or a downgrade/older operating system, the hard drive must be erased beforehand. For a simple update, if you want to keep your data, this is not necessary. Here, you can go directly to install macOS and confirm the further steps.
Description of Downgrade/Clean Install (Warning: all data will be deleted)
Select Disk Utility from the menu.
In Disk Utility, click on "View" at the top left and set to "Show all devices".
Select the hard drive/SSD - not the partitions!
Then click on Erase and assign a name to the hard drive. Confirm the whole process.
Once the hard drive is erased, exit Disk Utility.
Now the operating system can be reinstalled. To do this, go to "install macOS" and continue.
Confirm all further steps by continuing and select the hard drive where the operating system should be installed.
Finally, confirm the installation.
The whole process is also described directly by Apple here, in case anything is unclear:
https://support.apple.com/de-de/HT201372
Attention, very important! Always connect the device to a power source during installation. Always wait for the installation to complete. With some operating systems like High Sierra, Mojave, or Catalina, the firmware is also reinstalled. Sometimes the screen goes completely black for several seconds or even minutes, which might lead to the mistaken belief that the installation has failed, causing the device to be turned off or restarted. Do not turn off or restart the device, or the firmware may be damaged, and the device may not start at all. If your screen goes black, wait at least 30 minutes before doing anything.
Attention, we do not assume any liability for any errors that occur! You act at your own risk, so installations should only be carried out by experienced users.
The product links in this article are so-called affiliate links. If you make a purchase through these links, I receive a small commission. There are no additional costs for you. Thank you for your support.


Share:
Buy used refurbished - Advantages - the good advice!
SMC Reset MacBook Pro Air iMac Mini