Sometimes it happens that after an update, your iMac, MacBook Pro, or iPad and iPhone will not start. In most cases, a defective or damaged firmware is the culprit. Here I describe how you can repair or reinstall the Apple firmware.
To restore the firmware of an Apple device (such as a Mac with Apple Silicon or an iOS device), the Apple Configurator can be used. This is helpful if the device will not start, the operating system is damaged, or it is not functioning as expected for other reasons.
Here is a summary of the steps to restore the firmware using the Apple Configurator:
Requirements:
- Second Apple Device: You need a second Mac running macOS Monterey or later, with the Apple Configurator installed.
- Apple Configurator: Download and install the Apple Configurator from the Mac App Store on a working Mac.
-
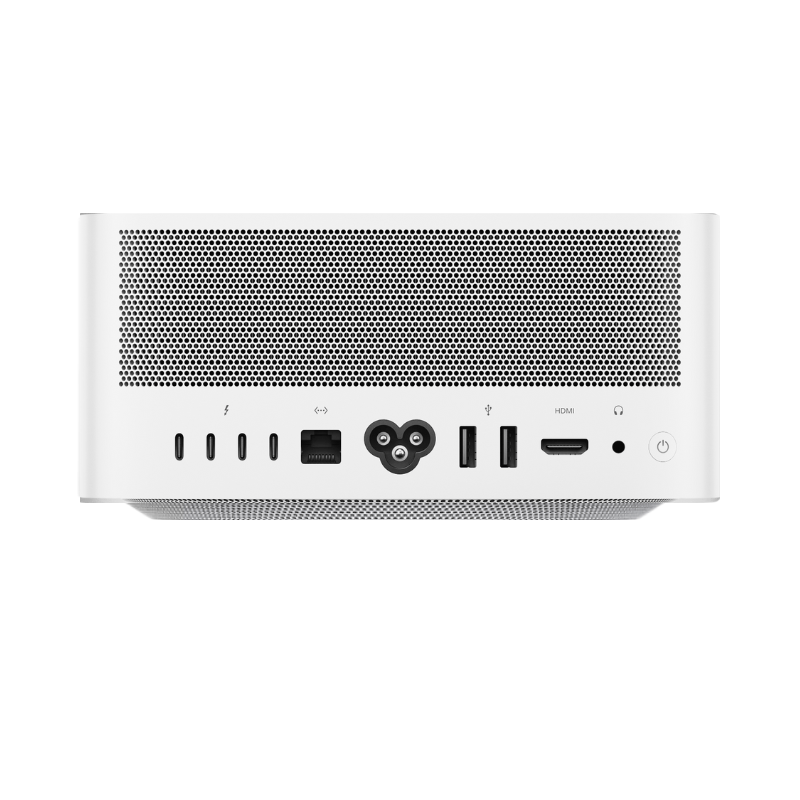
USB Cable: Connect the faulty Apple device to the second Mac using a USB-C or Thunderbolt cable. Note that not all USB-C ports are compatible. Depending on the model, only one port may support DFU mode (on the affected device).
Learn more here: https://support.apple.com/de-de/120694
Steps to Restore the Firmware:
1. Put the device into DFU mode:
-
-
Mac with Apple Silicon (M1/M2 chip):
- Turn off the Mac.
-
Press and release the power button. Then immediately hold all four keys on the built-in keyboard simultaneously:
-
Ctrl ⌃ on the left side of the keyboard
-
Option key ⌥ on the left side of the keyboard
-
Shift key ⇧ on the right side of the keyboard
-
Power button
Hold all four keys for about 10 seconds, then release all keys except the power button. Hold the power button for up to 10 more seconds.
-
-
Mac with Apple Silicon (M1/M2 chip):
- Turn off the Mac.
- Press and release the power button. Then immediately hold all four keys on the built-in keyboard simultaneously:
-
Ctrl ⌃ on the left side of the keyboard
-
Option key ⌥ on the left side of the keyboard
-
Shift key ⇧ on the right side of the keyboard
-
Power button
Hold all four keys for about 3 seconds, then release all keys.
-
-
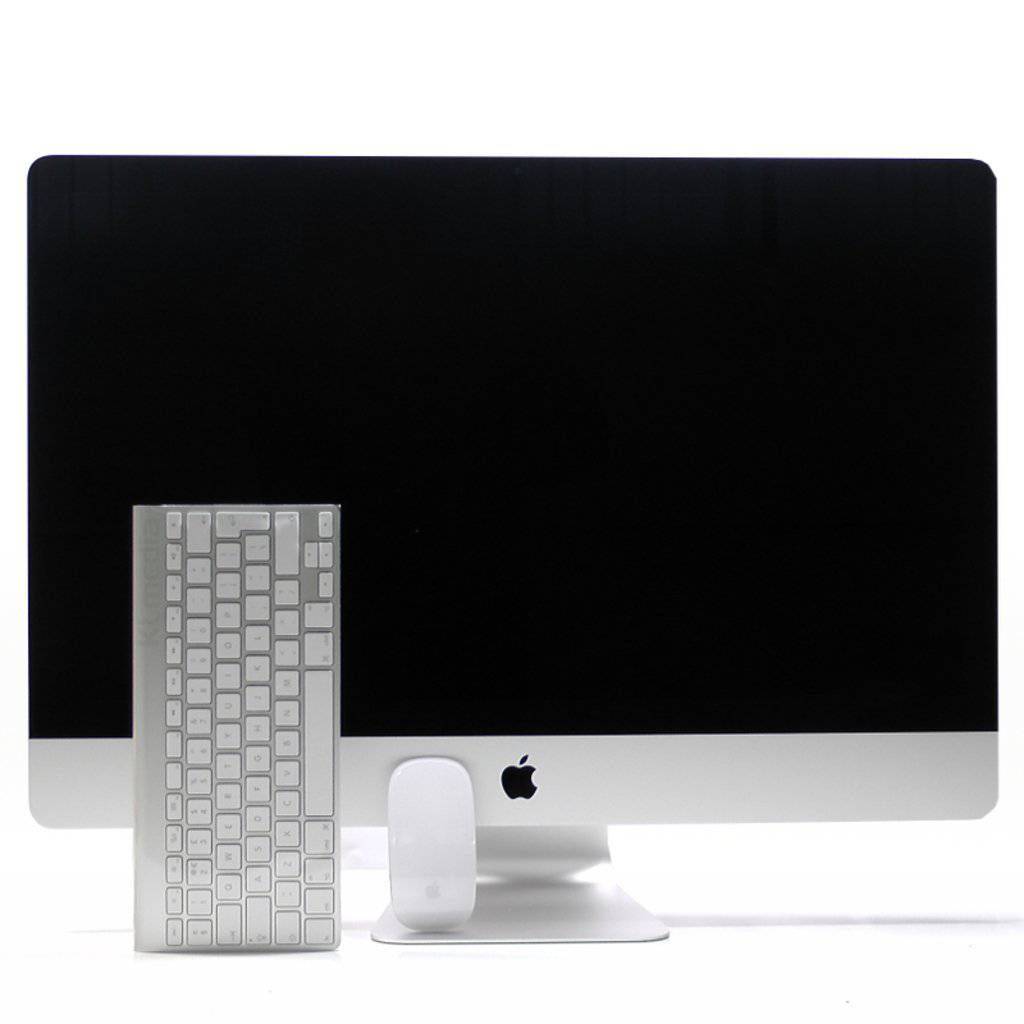
Intel iMac / Pro with T2 chip:
- Unplug the iMac.
- Hold the power button while plugging in the iMac until the device appears in the Configurator.
-
-
iPhone or iPad:
- Connect the device to the Mac.
- Restart the device and press the appropriate keys (depending on the model) to start in recovery mode.
2. Display device in Apple Configurator:
- Open the Apple Configurator on the second Mac.
- Your device should appear in the device list if it is correctly connected in DFU mode.
3. Restore firmware:
- Select the device in Apple Configurator.
- Click on Actions in the menu bar and select Restore.
- The Apple Configurator will download the latest firmware and install it on the device. This may take some time.
- Once the restoration is complete, the device will restart and should be functional again.
Advantages:
- Complete restoration: This restores not only the operating system but also the device's firmware, which can fix more profound issues.
- For various devices: Works for Macs (with Apple Silicon or T2 chip) as well as iPhones and iPads.
Limitations:
- Data loss: Restoring the firmware will erase all data on the device. It is advisable to have a backup beforehand.
- Complexity: The procedure is somewhat technical, especially putting the device into DFU mode correctly.
With Apple Configurator, the firmware of damaged Apple devices can be restored by connecting them to another Mac, providing an efficient solution for severe software problems.
Note: Firmware restoration should only be performed by experienced users who are familiar with the process.







Share:
Use iMac as Monitor
Connect iPad to monitor or TV - description
1 comment
Guten Abend,
Mein Target Gerät ist ein MCB Air mit Silicon Apple Chip M1. Muss das zweite Gerät zur Firmware Wiederherstellung zwingend einen T2 Chip besitzen?
LG Michael