

A new Mac is quickly unpacked, but how do you get your photos, documents, programs, user accounts and settings from your old Mac onto the new device?
Apple now makes switching very easy. In most cases, Migration Assistant is the best solution. However, there are several options depending on whether your old Mac still works, you have a Time Machine backup or you only want to transfer individual files.
In this guide, we show you step by step how to transfer data from an old Mac to a new Mac, from a MacBook to a Mac mini or Mac Studio.
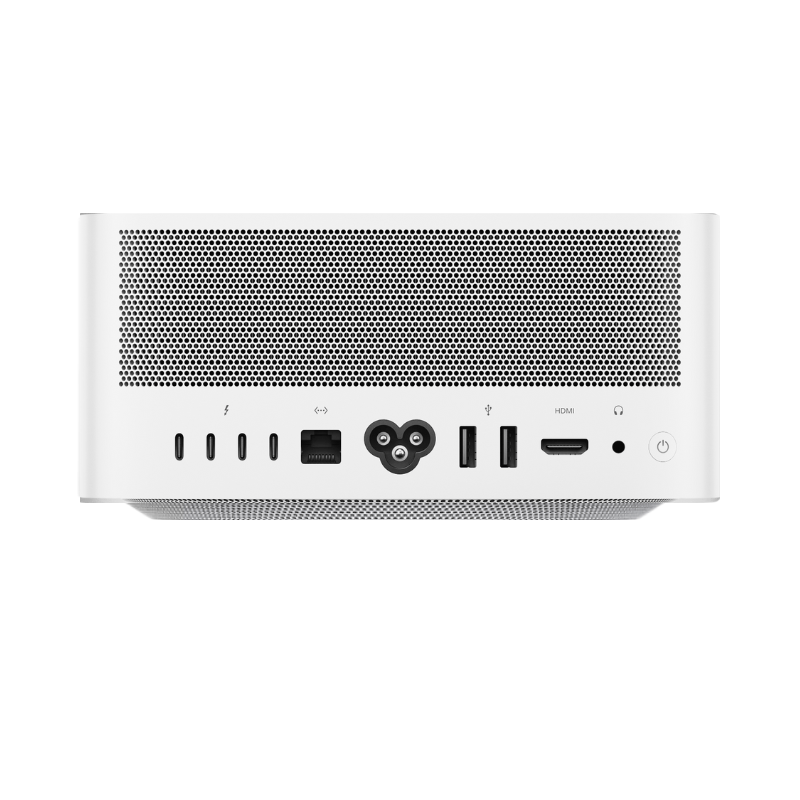
If your old Mac still works, use Apple Migration Assistant. For larger amounts of data, connect the two Macs via Thunderbolt or Ethernet wherever possible. This is usually significantly faster than transferring over Wi-Fi.
What data can be transferred to a new Mac?
Apple's Migration Assistant lets you transfer much more than your personal files. Items that can be transferred include:
- User accounts
- Documents and personal files
- Photos and media libraries
- many installed programs
- System and user settings
- Network and other configurations
The new Mac often feels almost exactly like your previous one afterwards, just with new hardware.
Option 1: transfer data while setting up the new Mac
The easiest opportunity comes when you first turn on your new Mac.
During setup, macOS asks whether you want to transfer data to the new Mac. Choose:
“From a Mac, Time Machine backup or startup disk”
You can then select your previous Mac as the source and transfer the desired data.
How to proceed
- Turn on your new Mac.
- Follow Setup Assistant.
- Choose the option to transfer from a Mac, Time Machine backup or startup disk.
- Turn on your old Mac.
- Open Migration Assistant there.
- On the old Mac, select transfer “To another Mac”.
- Connect both Macs and follow the instructions on screen.
- Select the user accounts and content to transfer.
Depending on the amount of data and the connection, the transfer can take from a few minutes to several hours.
Option 2: use Migration Assistant later
Have you already set up your new Mac? No problem. Migration Assistant can also be started later.
On current macOS versions, you can find it under:
System Settings → General → Transfer or Reset → Migration Assistant
Alternatively, search Spotlight for “Migration Assistant”.
On the new Mac, choose:
“From a Mac, Time Machine backup or startup disk”
On the previous Mac, choose:
“To another Mac”
The devices then detect each other and guide you through the rest of the transfer.
Wi-Fi, Ethernet or Thunderbolt: which is fastest?
Migration also works wirelessly in principle. However, with several hundred gigabytes or even several terabytes of data, Wi-Fi can take a long time.
Apple supports several transfer methods. Wherever possible, use a direct cable connection for large amounts of data.
| Connection | Suitable for | Recommendation |
|---|---|---|
| Thunderbolt | large amounts of data | Highly recommended |
| Ethernet | large amounts of data | Highly recommended |
| Wi-Fi | small to medium amounts of data | Convenient, but often slower |
Tip: A wired connection is particularly worthwhile when moving to a Mac Studio, Mac mini or MacBook Pro with a large SSD.
Option 3: transfer data from a Time Machine backup
Migration through Time Machine is particularly practical. It is also helpful if your old Mac is no longer available or is faulty.
Connect the drive containing your Time Machine backup to the new Mac. During setup, or later in Migration Assistant, you can select the backup as the source.
Then specify which users and data should be transferred.
Before selling or resetting your old Mac, we strongly recommend creating a complete backup.
→ Guide: back up your Mac properly with Time Machine
Option 4: transfer data to the new Mac through iCloud
If you use iCloud, much of your data automatically reappears on the new Mac after signing in with your Apple Account.
This can include:
- iCloud Drive
- Photos with iCloud Photos enabled
- Contacts
- Calendars
- Notes
- Safari data
- Passwords and keychain data
- Data from compatible apps
However, iCloud does not replace a full Mac migration. Locally stored files, programs and certain settings may exist only on your old Mac.
Option 5: transfer files manually using an external SSD
Sometimes you deliberately want to avoid transferring the entire old Mac. Especially after many years, programs, files and settings you no longer need can accumulate.
In this case, you can set up the new Mac cleanly and copy only important files using an external SSD.
How it works
- Connect an external SSD to your old Mac.
- Copy the required documents, photos, videos and other files to the SSD.
- Then connect the SSD to your new Mac.
- Copy the desired files to the new Mac.
- Then reinstall your programs.
The advantage: you start with a tidy system and transfer only what you actually still need.
Option 6: transfer individual files with AirDrop
AirDrop is particularly convenient for individual documents, pictures or smaller folders.
On the old Mac, open the Finder and select the desired file. Via Share → AirDrop, you can send it directly to the new Mac.
For a full migration involving several hundred gigabytes, however, AirDrop is not the most sensible solution.
From an old Intel Mac to a new Apple Silicon Mac: does it work?
Yes. Migration Assistant can also be used when moving, for example, from an older Intel Mac to a current Mac with an Apple chip.
However, you should afterwards check whether your programs are compatible with the current macOS version and Apple Silicon. Some older Intel programs can run through Rosetta, while very old programs or system extensions may no longer work.
Especially with professional software, check before switching whether current versions and licenses are available.
Should you really transfer all data to the new Mac?
Not necessarily.
If your previous Mac is only a few years old and works without problems, a full migration is usually the most convenient solution.
However, if you have used the system for many years and transferred it from one Mac to the next several times, a clean setup can make sense.
You then reinstall programs and transfer only your personal files.
After transferring data, you should check some settings. We have created a dedicated step-by-step guide for this.
→ Set up a new Mac properly: 12 important settings
What should you consider before transferring data?
Before starting, we recommend a few preparations:
- Create a current backup of the old Mac if possible.
- Install available macOS updates.
- Connect MacBooks to their power adapters during migration.
- Make sure the new Mac has enough storage available.
- Have passwords for user accounts and your Apple Account ready.
- Allow enough time for large amounts of data.
Apple also recommends disabling interfering VPN, firewall or security software during migration if necessary.
What if the old Mac no longer works?
If your previous Mac is faulty, an existing Time Machine backup is usually the easiest solution.
You can connect the backup directly to the new Mac and use Migration Assistant.
If there is no backup and the old Mac no longer starts, the possibility of data recovery depends heavily on the model and fault. On modern Macs, storage is fixed to the logic board, so removing the SSD in the traditional way is often not possible.
After migration: do not erase the old Mac immediately
Even if everything seems present at first glance, you should not immediately reset the old Mac.
First check:
- Are all important documents present?
- Is your photo library complete?
- Do your programs work?
- Are mail accounts set up?
- Are passwords and browser data present?
- Do programs requiring license activation work?
Only erase the old Mac after working with the new Mac for a few days and being sure that nothing is missing.
Which method is best?
For most users, Migration Assistant is the best and easiest method. It lets you transfer user accounts, programs, settings and personal data to the new Mac in one operation.
For large amounts of data, we recommend a direct Thunderbolt or Ethernet connection. If your old Mac is no longer available, a current Time Machine backup is suitable.
If you deliberately want to start with a completely clean system, you can set up the new Mac afresh and transfer only your personal data through iCloud or an external SSD.
Still looking for the right Mac?
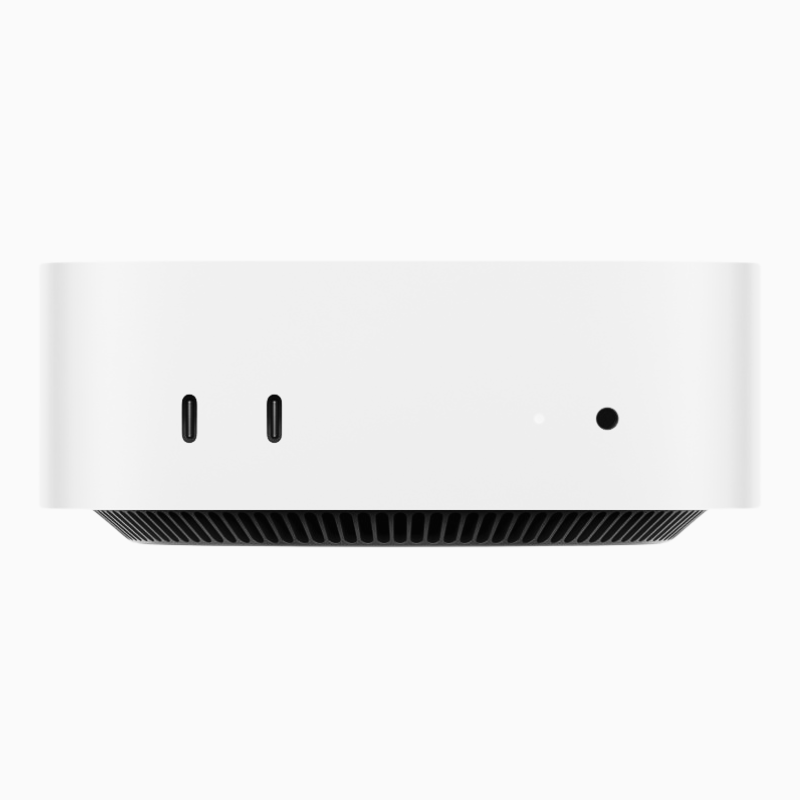
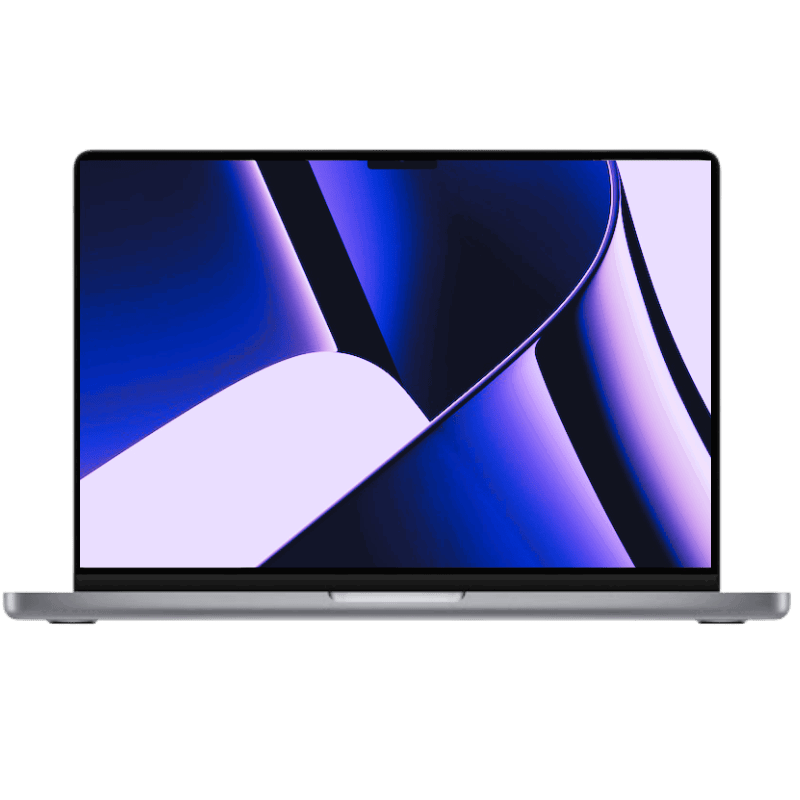
At mac-store24, you will find MacBook Pro, Mac mini, Mac Studio, iMac and other Apple devices in various configurations.
Discover Apple devicesFrequently asked questions about transferring data to a new Mac
Can I set up my new Mac first and transfer data later?
Yes. Migration Assistant can also be started after setup. On current macOS versions, you can find it under “System Settings → General → Transfer or Reset”.
Are programs transferred with Migration Assistant?
Many programs can be transferred. However, you should then check whether they are compatible with your new Mac's macOS version and processor. Some programs need to be activated again or reinstalled.
Is the data on my old Mac erased?
No. Migration Assistant copies data to the new Mac. It does not erase data on the old Mac.
Can I switch from an Intel Mac to a Mac with an Apple chip?
Yes. Personal data and many programs can be transferred with Migration Assistant. For older programs, check compatibility afterwards.
Which is faster: Wi-Fi or cable?
For large amounts of data, a direct Thunderbolt or Ethernet connection is generally the better choice. Wi-Fi is particularly convenient, but can take much longer for extensive data collections.
Do I need iCloud to transfer data?
No. No iCloud storage is required for direct Mac-to-Mac migration or migration through a Time Machine backup.


Share:
System restore on an Apple Mac – different options
Connect Apple Thunderbolt Display to a Mac