

Updated: August 2026 · Reading time: approx. 12 minutes
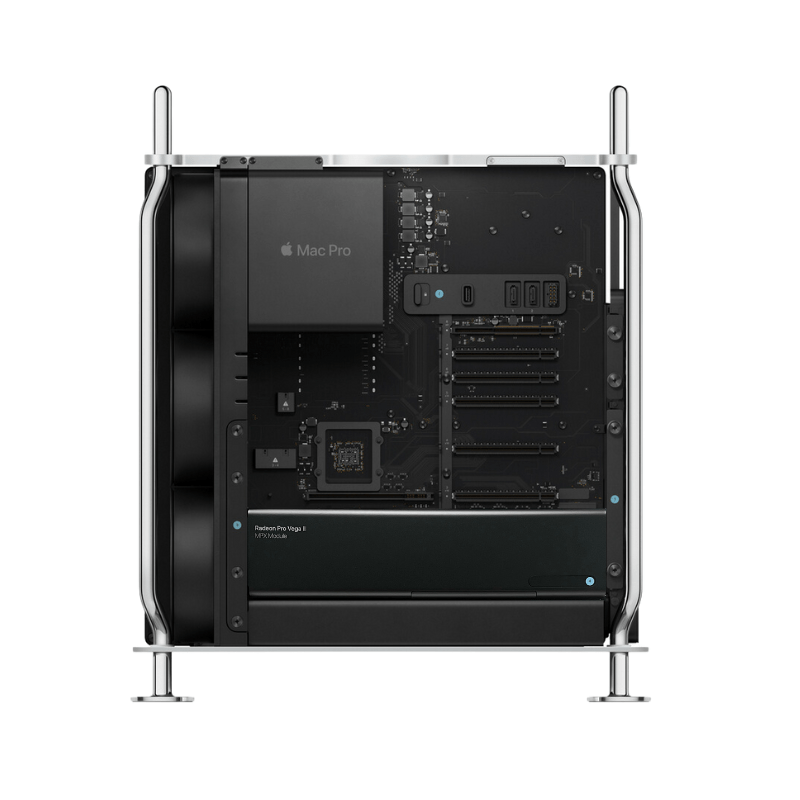
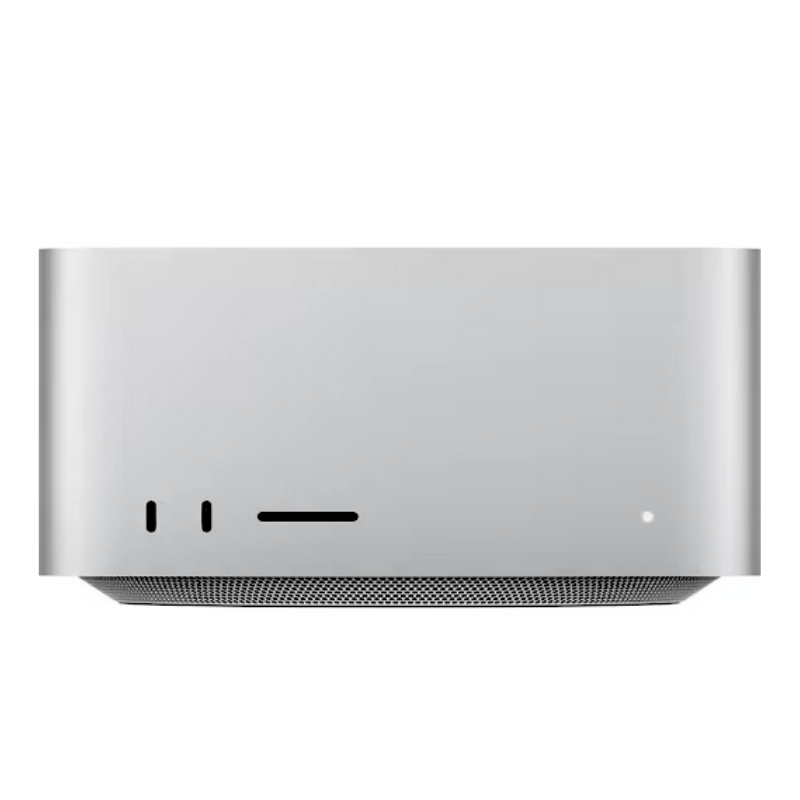
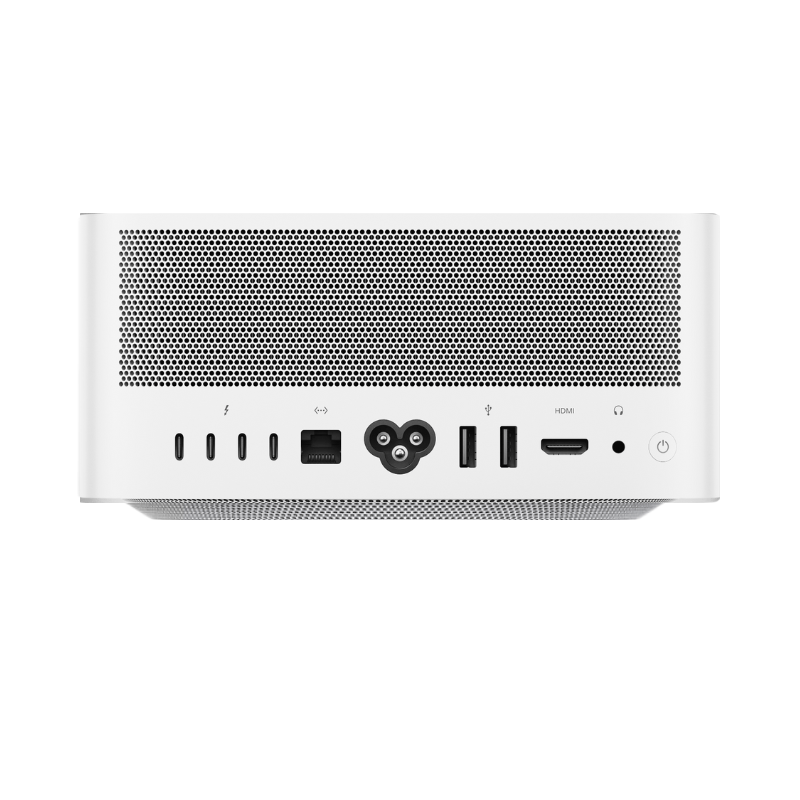
Photos, documents, projects, emails and personal settings: a Mac quickly accumulates data that cannot easily be replaced in an emergency. This guide explains how to properly back up a MacBook, iMac, Mac mini, Mac Studio or Mac Pro, how Time Machine works and why iCloud alone is not a complete replacement for a separate Mac backup.
What is the best way to back up my Mac?
For most users, Time Machine with a separate external drive is the simplest foundation. Time Machine is built directly into macOS and can automatically back up files, apps and personal data. Store particularly important data in a second, independent location as well. iCloud is excellent for synchronisation, but is not the same as an independent Mac backup.
Why does a Mac need a backup at all?
A backup does not only protect against a technical failure. Files can be accidentally deleted or overwritten, a laptop can be lost, and even a working Mac will eventually be replaced.
What is Time Machine on a Mac?
Time Machine is Apple’s backup feature built into macOS. It can back up apps, photos, music, emails, documents and other personal files, among other things. Once set up, subsequent backups run largely automatically.
Its major advantage is version history: if you accidentally change or delete a file, you can return to an earlier version. Time Machine also creates local snapshots on APFS systems. These are useful, but do not replace an external backup because they reside on the same internal storage as the original data.
Which hard drive or SSD is suitable for Time Machine?
The simplest option is an external USB, USB-C or Thunderbolt drive. Time Machine can also work with suitable network destinations.
How large should a Time Machine drive be?
As a guideline, Apple recommends a backup drive with at least twice the Mac’s storage capacity. If your Mac has 1 TB of internal storage, around 2 TB for Time Machine is a sensible starting point.
| Mac SSD | Backup capacity guideline |
|---|---|
| 256 GB | From approx. 512 GB |
| 512 GB | From approx. 1 TB |
| 1 TB | From approx. 2 TB |
| 2 TB | From approx. 4 TB |
In practice, more capacity usually allows a longer history. Find out more about internal storage specifications in our SSD guide.
Set up Time Machine: Step by step
- Connect an external backup drive to the Mac.
- → System Settings → General → Time Machine: open this setting.
- Add a backup disk.
- Select the desired drive.
- Choose options and enable encryption if needed.
- Start the first backup or allow it to begin automatically.
Why does the first backup take longer?
During the first run, Time Machine must back up a large amount of data. Later backups are normally faster because mainly changes since the last backup are transferred. You can continue using the Mac in the meantime.
How often does Time Machine create a backup?
On current macOS versions, backup frequency can be set in Time Machine options, for example hourly, daily or weekly. With an iMac, Mac mini, Mac Studio or Mac Pro, a permanently connected drive is convenient. MacBook users should get into the habit of connecting the backup drive regularly.
Should you encrypt a Time Machine backup?
A backup may contain almost all your Mac’s personal data. Encryption is therefore particularly worthwhile for portable or freely accessible drives. Keep the associated password or recovery information reliably stored.
iCloud or Time Machine: What is the difference?
iCloud and Time Machine complement each other but serve different purposes.
| Function | iCloud | Time Machine |
|---|---|---|
| Synchronisation between devices | Yes | No |
| Separate Mac backup | Not its main purpose | Yes |
| Backup history | Depends on the service/feature | Yes |
For important data, an independent backup in addition to cloud synchronisation is therefore worthwhile.
Restore deleted files with Time Machine
One of the most practical uses is restoring a single deleted or overwritten file.
- Open Finder at the location where the file was.
- Open Time Machine backups.
- Navigate to the desired time.
- Select the file or folder.
- Restore the item.
Depending on the situation, you can also use Spotlight to search for items in Time Machine backups.
Transfer a Time Machine backup to a new Mac
Apple’s Migration Assistant can transfer personal files, apps and data from a Time Machine backup to a new Mac. This is particularly useful if the old Mac is no longer available.
We explain all transfer options in our guide “Transfer data from an old Mac to a new Mac”.
Which backup strategy makes sense for important Mac data?
For normal personal data, a regularly used Time Machine drive is already a major step forward. For irreplaceable data, also plan an independent copy.
The 3-2-1 rule as a guideline
A well-known strategy, simplified, is: three copies of important data, on two different storage media, with one copy in another location.
- Original data on the Mac,
- Time Machine backup on an external drive,
- An additional backup of particularly important data in a physically separate location or through a suitable cloud service.
The most common Mac backup mistakes
1. “My data is in iCloud, so I have a backup”
Synchronisation and an independent backup are not the same thing.
2. The backup drive is never connected
A MacBook can only back up to an external drive if it is regularly available.
3. The backup and original are on the same physical drive
If the drive fails, both copies can be lost.
4. The backup has never been checked
Occasionally check that recent backups are available.
5. The backup password has been forgotten
With encrypted backups, securely storing login details is part of the backup strategy.
Our simple recommendation
- Use an external drive with enough capacity.
- Enable Time Machine and automatic backups.
- Encrypt the backup if possible.
- MacBook users: establish a regular backup schedule.
- Back up irreplaceable data independently as well.
- Regularly check that recent backups are available.
Frequently asked questions about Mac backups
How large should a Time Machine drive be?
As a guideline, Apple recommends at least twice the Mac’s storage capacity. With 1 TB of internal storage, around 2 TB of backup capacity is a sensible starting point.
SSD or HDD for Time Machine?
Both can work. An SSD is compact, quiet and fast; an HDD often offers large capacities more affordably. Above all, regular and reliable use is decisive.
Is iCloud a replacement for Time Machine?
Not completely. iCloud mainly provides synchronisation and cloud availability, while Time Machine provides a separate backup history of the Mac.
Can I set up a new Mac from a Time Machine backup?
Yes. Migration Assistant can transfer data from a Time Machine backup to a new Mac.
Conclusion: Set up a Mac backup before you need it
For most users, Time Machine with an external drive offers a straightforward starting point. For particularly important data, do not stop at a single copy. Time Machine, an additional independent backup and deliberately used cloud synchronisation together form a significantly more robust strategy.
New Mac? Your data can move with you.
If your existing Mac needs replacing, you can find refurbished Apple computers for different requirements with us.



Share:
Slow Mac? 10 causes and solutions that really help
External SSD for Mac: 5 recommendations for backups, photos & more