
Updated: October 2026 · Reading time: approx. 16 minutes
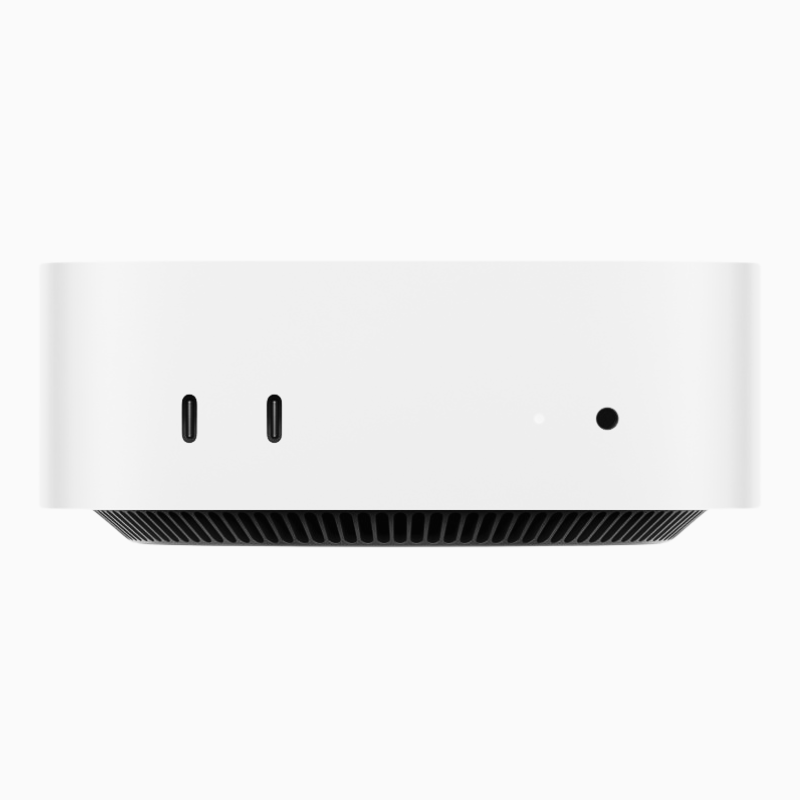
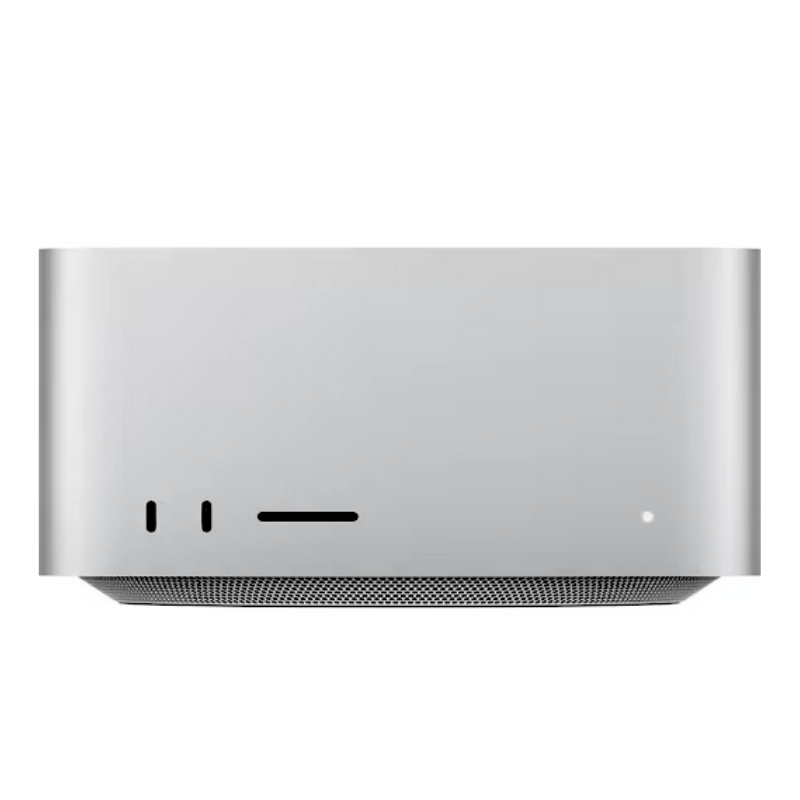
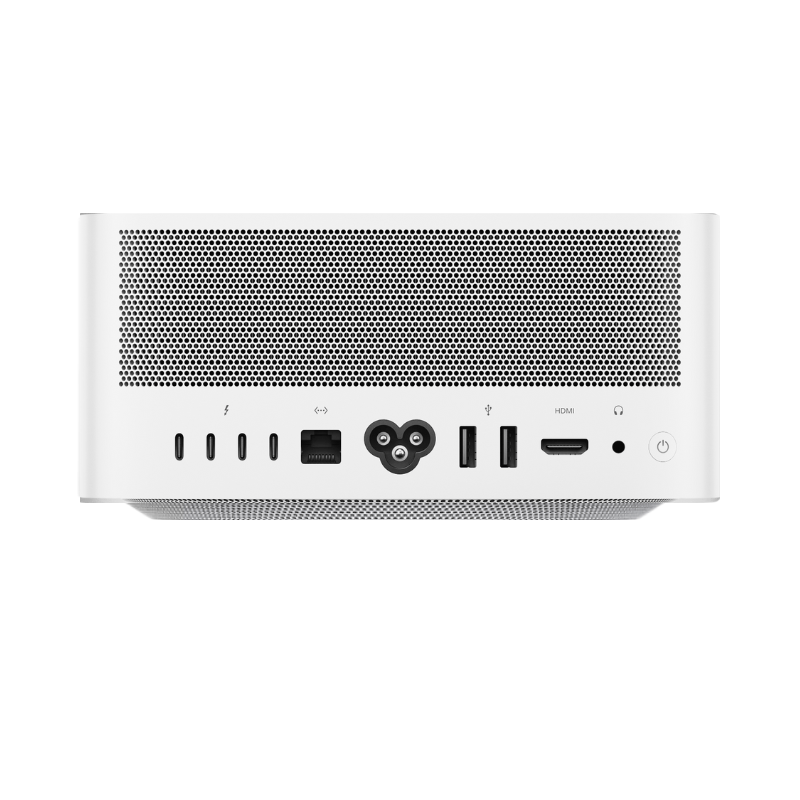
A Mac mini as a server is an interesting alternative to a traditional NAS: quiet, compact, energy-efficient and fully integrated into macOS. With a Mac mini, you can share files on your home network, store Time Machine backups for other Macs, run a media server and build a small private data hub with additional storage.
In this guide, we show you step by step how to set up a Mac mini as a file server, Time Machine server and media server, which SSDs or hard drives make sense and when a traditional NAS is still the better solution.
What can a Mac mini do as a server?
- File server: shared folders for MacBook Pro, MacBook Air, iMac, Mac Studio and other devices on the network
- Time Machine destination: automatic network backups of other Macs
- Media server: centrally provide films, TV series, music and your own media libraries
- Private data hub: store documents, photos and project files centrally on your own network
- Remote workstation: manage the Mac mini without a permanently connected monitor
Why is the Mac mini suitable as a server?
The Mac mini is excellent for NAS, home hub and server tasks. With the file sharing built into macOS, folders or external drives can be made available to other devices on the network.
The biggest advantage over many traditional NAS systems is the combination of powerful Apple Silicon hardware and a full macOS installation. You can therefore not only store files but also run normal Mac software when needed.
The Mac mini takes up little space and can sit discreetly near the router or workstation.
For typical file and backup tasks, an Apple Silicon Mac mini runs very unobtrusively.
Alongside file and backup services, the Mac can also run media and other server software.
File sharing, user permissions, screen sharing and Time Machine are already part of the system.
Which Mac mini is enough for a home server?
You do not need a high-end Mac for a dedicated file and Time Machine server. Even an Apple Silicon Mac mini offers more than enough performance for typical home network tasks.
| Use | Suitable specifications |
|---|---|
| File server & Time Machine | A base model with 16 GB RAM is normally sufficient |
| Files + media server | 16–24 GB RAM is comfortable |
| Several services at once | 24–32 GB or more, depending on the software |
| Server plus productive desktop | A Mac mini Pro variant can make sense |
For a server in particular, a used or refurbished Mac mini is interesting. For file and backup tasks, the latest chip generation is often unnecessary.
SSD or HDD: which storage for a Mac mini server?
You should mainly use the Mac mini's internal SSD for macOS, applications and server software. Large collections of data can be stored very effectively on an external drive.
External SSD
An external SSD is quiet, fast and takes up little space. For photos, videos, project files and frequently used data, it is the most convenient solution. Very high transfer speeds are possible over USB4 or Thunderbolt.
External HDD
Traditional hard drives still offer plenty of capacity per euro. They can therefore make sense for large Time Machine archives or rarely used data. However, they are slower, mechanical and more audible than SSDs.
4 TB or 8 TB as a good starting point
If several Macs need backing up or large media libraries need storing, 4 TB or 8 TB quickly becomes worthwhile. You will find our recommendations in the guide Expand Mac storage: 4 TB & 8 TB SSD .
Prepare the network properly: Ethernet instead of Wi-Fi
A Mac mini can also share files over Wi-Fi. For a server running continuously, however, I would prefer Ethernet. A wired connection is more stable and usually offers more consistent transfer speeds on a home network.
If the router, switch and Mac mini support faster Ethernet speeds, large file transfers and backups can benefit further. The slowest component in the network is always the deciding factor.
Set up a Mac mini as a file server: step by step
macOS already includes the required file sharing. Additional NAS software is unnecessary for a simple file server.
- On the Mac mini, open System Settings → General → Sharing.
- Enable File Sharing.
- Click the information button next to File Sharing.
- Under Shared Folders, add the desired folder or an external drive.
- Specify which users may access it.
- Assign each user Read & Write, Read Only or no access.
For network shares, you can use separate users or sharing accounts. This means not every user needs a normal local account for daily work on the server.
Connect from another Mac
On a MacBook Pro, MacBook Air, iMac or Mac Studio, you can open the server in the Finder under Network. Alternatively, you can use a network address directly via Go → Connect to Server.
Use a Mac mini as a Time Machine server
One of the most practical features is the ability to use the Mac mini as a network destination for Time Machine backups of other Macs.
How to set up the backup destination
- On the Mac mini, enable File Sharing.
- Add the desired backup folder or external drive to the shared folders.
- Open the advanced options for the shared folder.
- Enable its use as a Time Machine backup destination.
- Then select this network destination in Time Machine on the Mac you want to back up.
If several MacBooks or iMacs share one large external drive, you should plan the available storage carefully.
If you want to set up Time Machine in general, you will find all the details in our guide Back up your Mac properly: Time Machine backup explained simply .
Mac mini as a media server: store films, TV series and music centrally
The Mac mini also makes a very good media server. A typical example is Plex Media Server. Your films, TV series and music are stored on the Mac mini or a connected drive and can be accessed by compatible devices on the network.
How powerful the server needs to be depends heavily on whether media files are simply played directly or need converting during playback. For a simple local library, even an older Apple Silicon Mac mini is usually already very capable.
Mac mini as a private data hub instead of the cloud?
A local Mac mini server can make a lot of data available within your own network. Documents, photos, videos and project files therefore do not necessarily have to reside exclusively with an external cloud provider.
However, this is not the same as a fully managed cloud service. Services such as iCloud offer, among other things, automatic synchronization over the internet and infrastructure outside your own home.
For many users, a combination therefore makes sense: a local server for large amounts of data and backups, the cloud for selected files and synchronization.
Run a Mac mini as a server without a monitor
After the initial setup, a Mac mini server does not need a permanently connected monitor. In the macOS sharing settings, you can enable features such as Screen Sharing and then control the Mac from another Mac on the network.
The Mac mini can, for example, sit directly beside the router and external storage while you conveniently manage it from your MacBook Pro, MacBook Air, iMac or Mac Studio.
Set up a Mac mini server securely
A server is continuously available on the network. You should therefore enable only the sharing features you actually need.
- Keep macOS up to date and install security updates.
- Use strong user passwords.
- Enable sharing only for the users who need it.
- Disable guest access if you do not need it.
- Assign clear read/write permissions for file shares.
- Do not expose remote access from the internet via open router ports without careful consideration.
- Back up important data separately.
You will find a more detailed security checklist in our article Secure your Mac: 12 important security settings .
Mac mini running continuously: what should you consider?
For a server, it makes sense to place the Mac mini in a well-ventilated location and avoid covering or stacking external drives if doing so generates heat. Mechanical hard drives in particular should sit securely.
For important servers, a UPS may also make sense, to bridge brief power outages and allow drives to keep running properly or shut down cleanly.
Mac mini or NAS: which is better?
| Mac mini | Traditional NAS |
|---|---|
| full macOS and normal Mac apps | specifically designed for storage and server functions |
| very high computing performance | often several internal drive bays |
| external storage usually via USB/Thunderbolt | RAID and drive management usually built in |
| ideal for Mac-focused households and studios | ideal for large dedicated storage pools and many drives |
If you already own a Mac mini or also want to use normal macOS software on the server, the Mac mini is particularly interesting. If, on the other hand, you want as many hard drives as possible, integrated RAID functions and a dedicated storage device, a traditional NAS is often more practical.
Our setup recommendations for a Mac mini server
Mac mini Apple Silicon
16 GB RAM
external 2–4 TB SSD
Ethernet
Ideal for files and a single Time Machine backup.
Mac mini
16–24 GB RAM
4–8 TB external storage
Ethernet
For several users, backups and shared media.
Mac mini Pro
24–32 GB+ RAM
fast external SSDs
fast Ethernet
For a media server and several services at once.
Mac mini for your server project
File, backup and media servers do not always need the newest model. Discover various Mac mini generations and configurations.
View Mac miniConclusion: the Mac mini is a surprisingly versatile home server
The Mac mini is not intended as a direct replacement for every professional NAS. For a Mac-focused household or a small studio, however, it is a very flexible solution: file server, Time Machine destination and media server can be combined on one compact device.
What makes it particularly interesting is that you can adjust storage capacity very flexibly using external SSDs or hard drives. An affordable Apple Silicon Mac mini is already enough for simple file and backup tasks; stronger models only become interesting with additional server services or more demanding media workflows.
Frequently asked questions about the Mac mini as a server
Can you use a Mac mini as a NAS?
Yes. macOS file sharing lets you make folders and external drives available on the network. However, a Mac mini does not offer the same integrated drive bays and NAS management functions as a traditional multi-drive NAS.
Can a Mac mini store Time Machine backups of other Macs?
Yes. A shared folder or a drive connected to the Mac mini can be set up as a Time Machine backup destination for other Macs on the network.
Can the Mac mini run as a server without a monitor?
Yes. After setup, you can run the Mac mini without a permanently connected monitor and manage it from another Mac, for example through screen sharing.
How much RAM does a Mac mini server need?
For simple file and Time Machine tasks, 16 GB is generally comfortably sufficient. More RAM becomes interesting if additional server software or several demanding services run at the same time.
SSD or HDD for a Mac mini server?
SSDs are faster, quieter and more compact. HDDs usually offer more capacity per euro. An SSD is very convenient for frequently used files, while an HDD can be more economical for large backup archives.
Is an old Mac mini still worthwhile as a server?
An older Apple Silicon Mac mini can still be very well suited to file and backup tasks. macOS support, network speed and the required server services are the deciding factors.



Share:
Which Mac for video editing in 2026? Buying advice